Microsoft Word offers dozens of handy fonts, but still, sometimes condition occurs when you want to add a font to word file. Maybe the font you think will fit best is not available in the default font folder in Windows 10, or you need something unique for a creative project you’re working on at home. Also, there might be users who just want to try some new fonts as they were bored of the defaults one. Whatever is the purpose, installing a new font to Word in Windows 10 is easy.
How to Add Font to Word File in Windows 10
There are lots of useful websites exists on the internet from where you can download fonts for free. After downloading a font of your selection, you just need to follow simple steps to install or add a fresh font to MS Word fonts library. Here is are the steps which you need to follow carefully:
- The first step is to download font which you want to add in Microsoft Word. For that, there are lots of websites to download free font. Note: While downloading the font make sure that it is free to use for both (Personal and Business purpose) In this tutorial, I’m going to take help of Dafont.com to download the font and add the same font to word file in Windows 10.
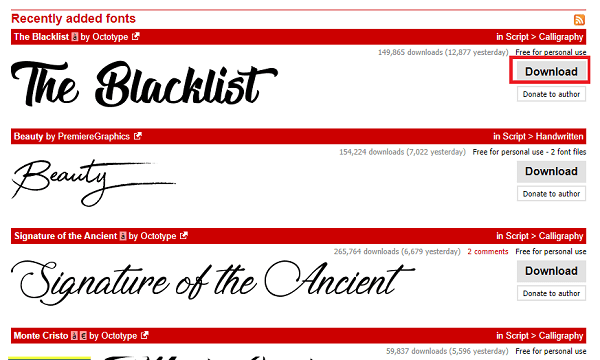
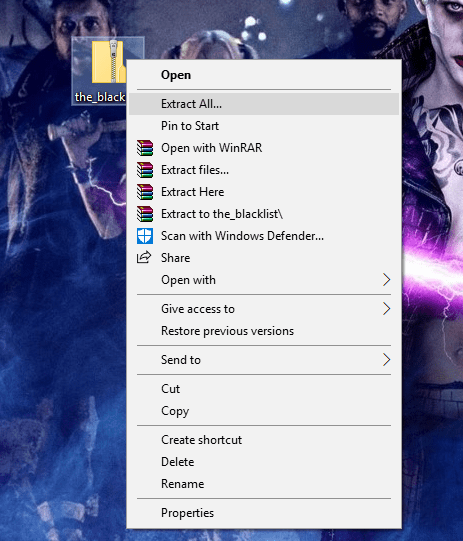
- On the Dafont.com you will find out dozens of font choices. Just click on the download button to grab the font zip file. The download button is available under every font listed on the website. When you click on the download button, the zip file containing the font file will be downloaded into your PC in few seconds. I have downloaded “The Blacklist” font for this tutorial. Note: If possible, please donate for the good of the website. 3. Make a right click on this file and extract the folder which contains “The Blacklist” font file. You can take help of Windows 10 default archiving tool or take help of any third-party tool.
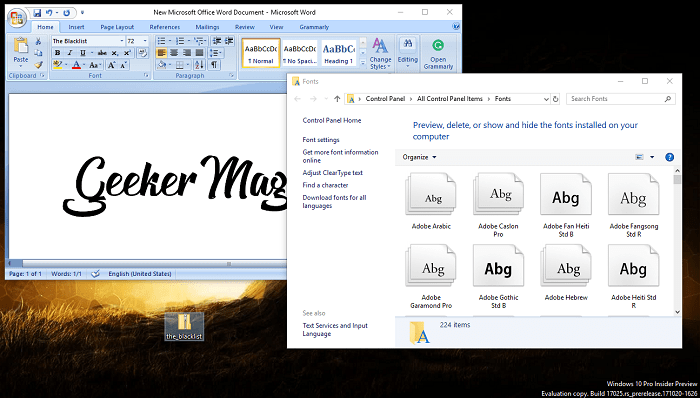
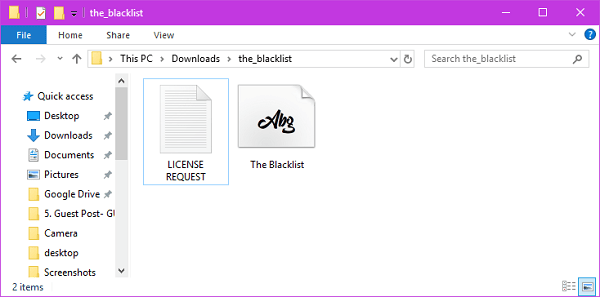
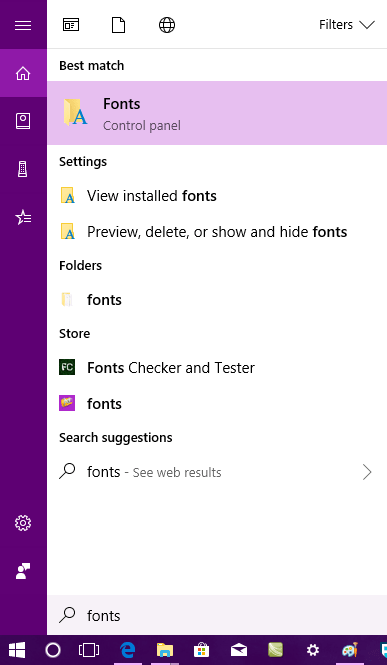
- After extraction process is completed you will be left with The Blacklist font folder, just open it. Inside the folder, you will find two files: License Request and The Blacklist font file. 5. In the Start menu search bar, you need to type Fonts and when the same control panel results for Fonts appear in the search result click to open it.
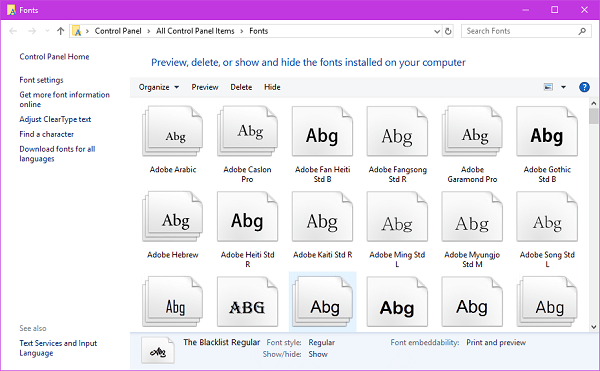
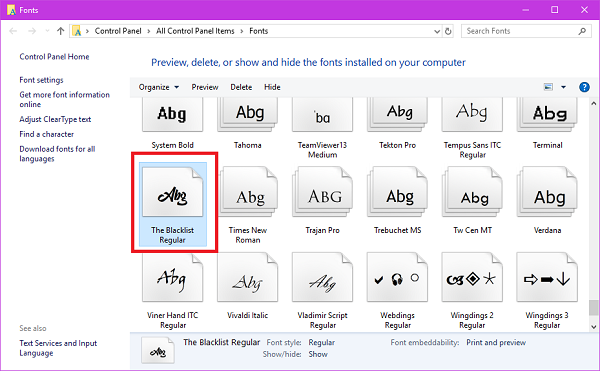
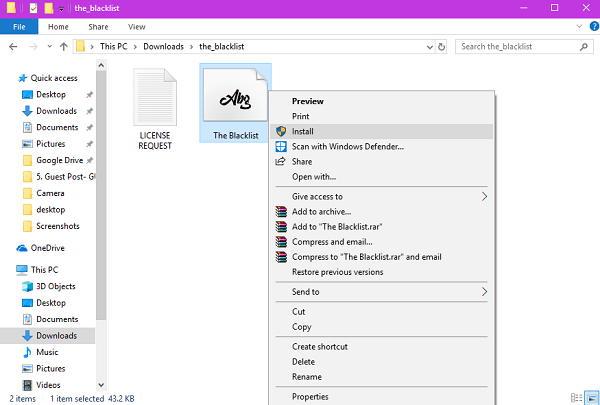
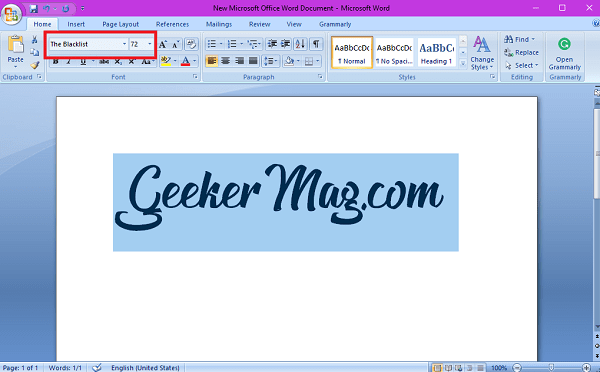
- This will launch the following Control Panel Font’s folder. Inside the folder, you will find files of all the fonts installed on your Windows 10 PC. Here you need to copy and paste the “The Blacklist” font file which you have already extracted in step 4. That’s it Alternatively, if you want to install the font quickly. Just right-click on the Font file and select Install button from the context menu. You will get a little dialog box tell you that new font is installing into the system. That’s it! At this point, you have successfully installed a new font in Windows 10. To confirm if it is added or not. Simply launch Word File. For that: Make a right click on the desktop and from the context menu select New > Word File. In the Word file type, anything and click on the Font drop-down and keep scrolling until you see the font which you have installed. This is how The Blacklist font looks like: So, this is how to add font to Word in Windows 10. Why don’t you give a try to this tutorial and let me know if you need any assistance?